- Follow us:
- Our Commodities:
-
May 2024
| MARTIENS DU PLESSIS, SOIL SCIENTIST/SOIL AND CROP CONSULTANT |
 |
Soil analysis is one of the tools in the farmer’s ‘toolbox’ to manage soil fertility and plant nutrition. The money that is spent annually on crop production should be based on a soil analysis report of the farm. It is therefore worthwhile to take a good representative soil sample to be analysed by a laboratory.
This article will provide some guidelines on taking, processing and labelling a representative soil sample.
PURPOSE OF A SOIL SAMPLE
Soil analysis is essential for the crop farmer to determine the plant-available nutrient levels in the soil, in order to identify soil acidity and deficiencies in plant nutrients. It is also an essential tool on which he bases his liming programme, as well as his fertiliser programme, for the crop to follow.
TIMING THE SAMPLE
COLLECT A WELL-REPRESENTED SAMPLE
When receiving the soil sample, it is processed in the laboratory by drying it in a soil-drying oven, usually at 40°C to 60°C. The sample is then homogenised by sieving and milling it. From this processed sample, a test sample of only 25 g (a teaspoonful) is eventually analysed. That 25 g of soil must represent the whole field.
If the farmer collects a poorly representative sample, the laboratory results will also give a poor reflection of the real nutrient status of the field. The old rule, namely ‘garbage in, garbage out’, also applies in soil sampling.
The aim is to collect a representative sample of the field. Rather make more effort in collecting a well-represented composite sample of the field, than cutting corners and collecting just a few subsamples at non-representing areas of the field.
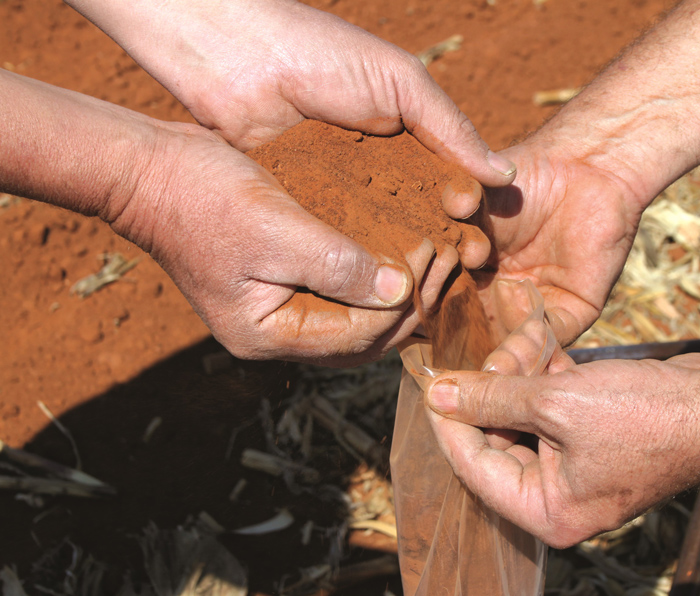
Use a plastic bag to collect the soil samples.
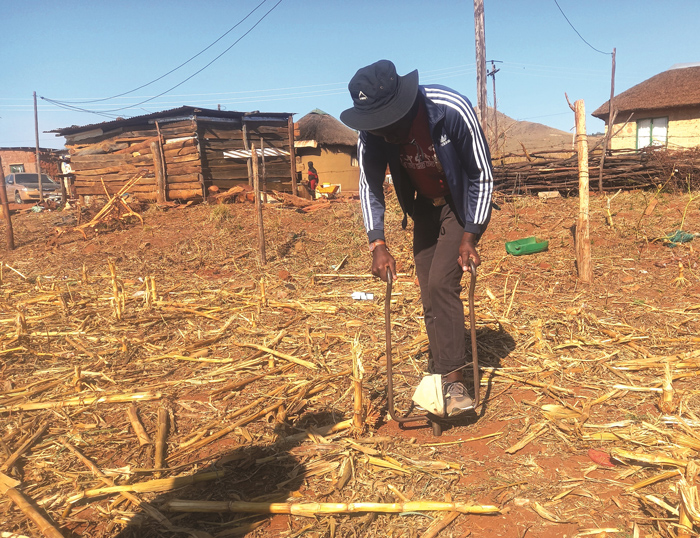
A young farmer takes a soil sample during a training session presented by the PGP Farmer Development Programme. Farmers were taught about the importance of soil sampling, soil depth analysis and soil health.
WHERE TO SAMPLE
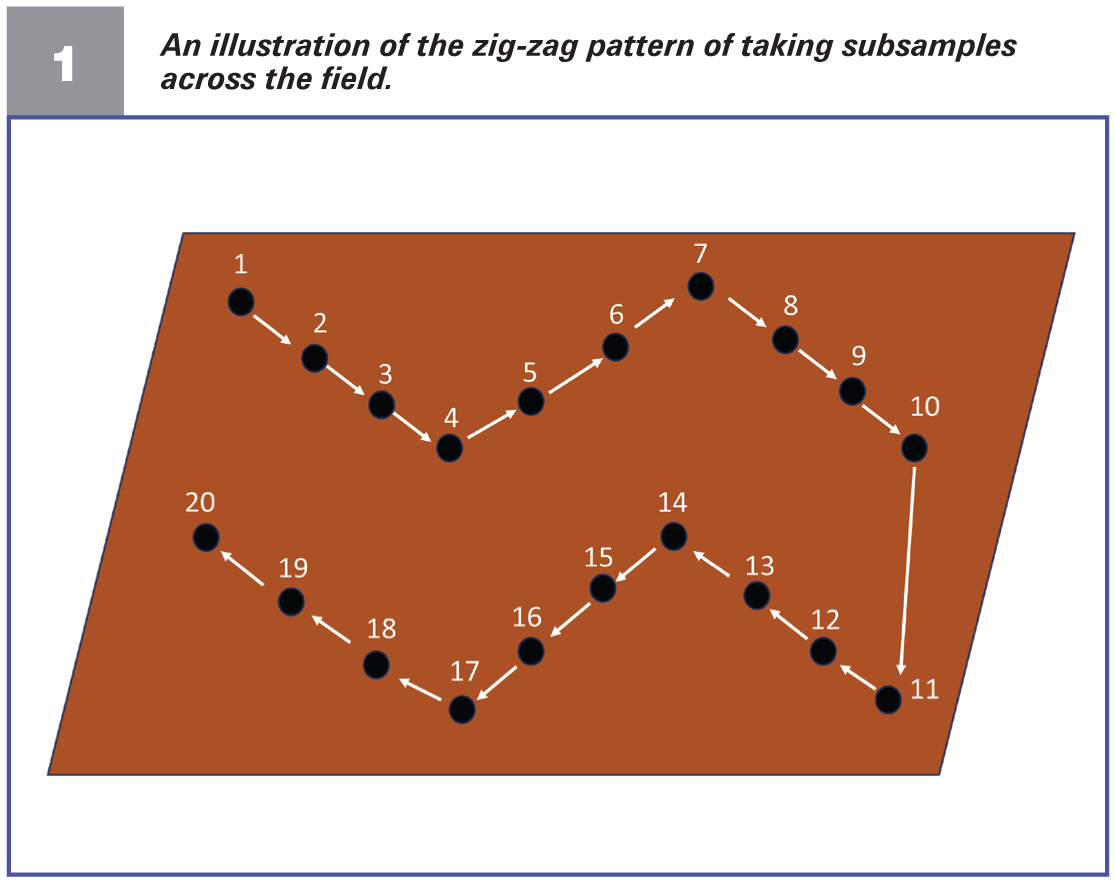
The composite sample consists of at least 15 to 20 subsamples (the more the better), taken across the field. The bigger the field, the more subsamples will be needed. Apply the following rule:
The figures below show how to go across the field in collecting the composite sample, if necessary. Figure 1 illustrates the zig-zag pattern across the field and Figure 2 illustrates the diagonally traverse pattern.
Take the subsample between the previous crop rows if visible. If the field was already cultivated and the previous crop rows are not visible anymore, take the subsample at any place. Avoid taking subsamples at non-representative areas of the field, such as dongas, plough furrows, terraces, old fence lines, rocky outcrops, old manure or lime heaps, swampy or flooded areas, sand washouts or near trees.

METHOD OF TAKING SUBSAMPLES
1. Sampling depth
Most of the cultivated fields were ploughed approximately 250 mm deep before. The topsoil is therefore mixed to the ploughing depth. It is recommended to take soil samples to at least 200 mm deep, but not deeper than 250 mm.
2. Sampling tools
Processing the composite sample
The next important step is to take the final sample from the compo-site sample.
4. Labelling the sample
The laboratory will indicate the full details provided by the farmer on the analysis report. The basic information should be the farmer’s name, farm name and field name. Additional information may be provided, such as topsoil, subsoil, depth of sampling, crop on the field and poor area vs good area.
The label must also be secured to the sample bag, so that it does not get lost on its way to the laboratory. It is usually stapled to the end or bottom of the sample bag. Do not put the label inside the sample bag, as it gets wet, easily tears and becomes unreadable.
5. Handling and shipping the final soil sample
Place the samples in a cool place in the vehicle. At home, put all the samples in a strong plastic bag. List all the samples’ information on a piece of paper and put it into the plastic bag. This will make it
possible for the laboratory to check whether they have received all the samples. Store them in a cool, dry place.
Samples should be shipped to the laboratory as soon as possible (preferably the next day) to prevent alteration of the chemical properties by soil microbes.
6. Analysis report
The laboratories usually finalise the analysis and the report within two weeks, after which it is sent by e-mail to the recipient. It is recommended to forward the report to a soil scientist or agronomist to interpret the analysis and to make recommendations according to the test results.
CONCLUSION
The laboratory only analyses what they receive. The rule of ‘garbage in, garbage out’ is absolutely applicable. It is up to the farmer to collect the most representative soil samples possible. The critical performance area of soil sampling is collecting the various subsamples. It should be done in a proper way and to the required soil depth. Make sure the necessary information is provided with the sample to
the laboratory.
REFERENCES
Publication: May 2024
Section: Pula/Imvula